Your shopping cart is empty!

MENU
Your shopping cart is empty!
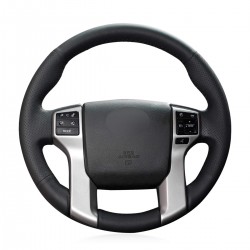
**A Step-by-Step Guide to Installing Your Custom Leather Steering Wheel Cover**
Installing a custom leather steering wheel cover is one of the most rewarding DIY projects for any car enthusiast. Unlike a universal slip-on cover, a stitched-on leather steering wheel cover offers a flawless, OEM-like finish that enhances grip, comfort, and the overall aesthetic of your interior. While the process requires patience, the result is well worth the effort.
Here is a comprehensive guide to help you successfully install your new leather steering wheel cover.
**Preparation: Gathering Your Tools**
Before you begin, ensure you have the following:
1. Your custom leather steering wheel cover (ensure it's for your specific car model).
2. Strong nylon or polyester thread (usually provided with the cover).
3. Plastic pry tools or a flat-head screwdriver (covered with tape to prevent scratches).
4. Scissors.
5. Needle(s).
6. Painter's tape.
7. Rubbing alcohol and a microfiber cloth.
8. About 2-3 hours of uninterrupted time.
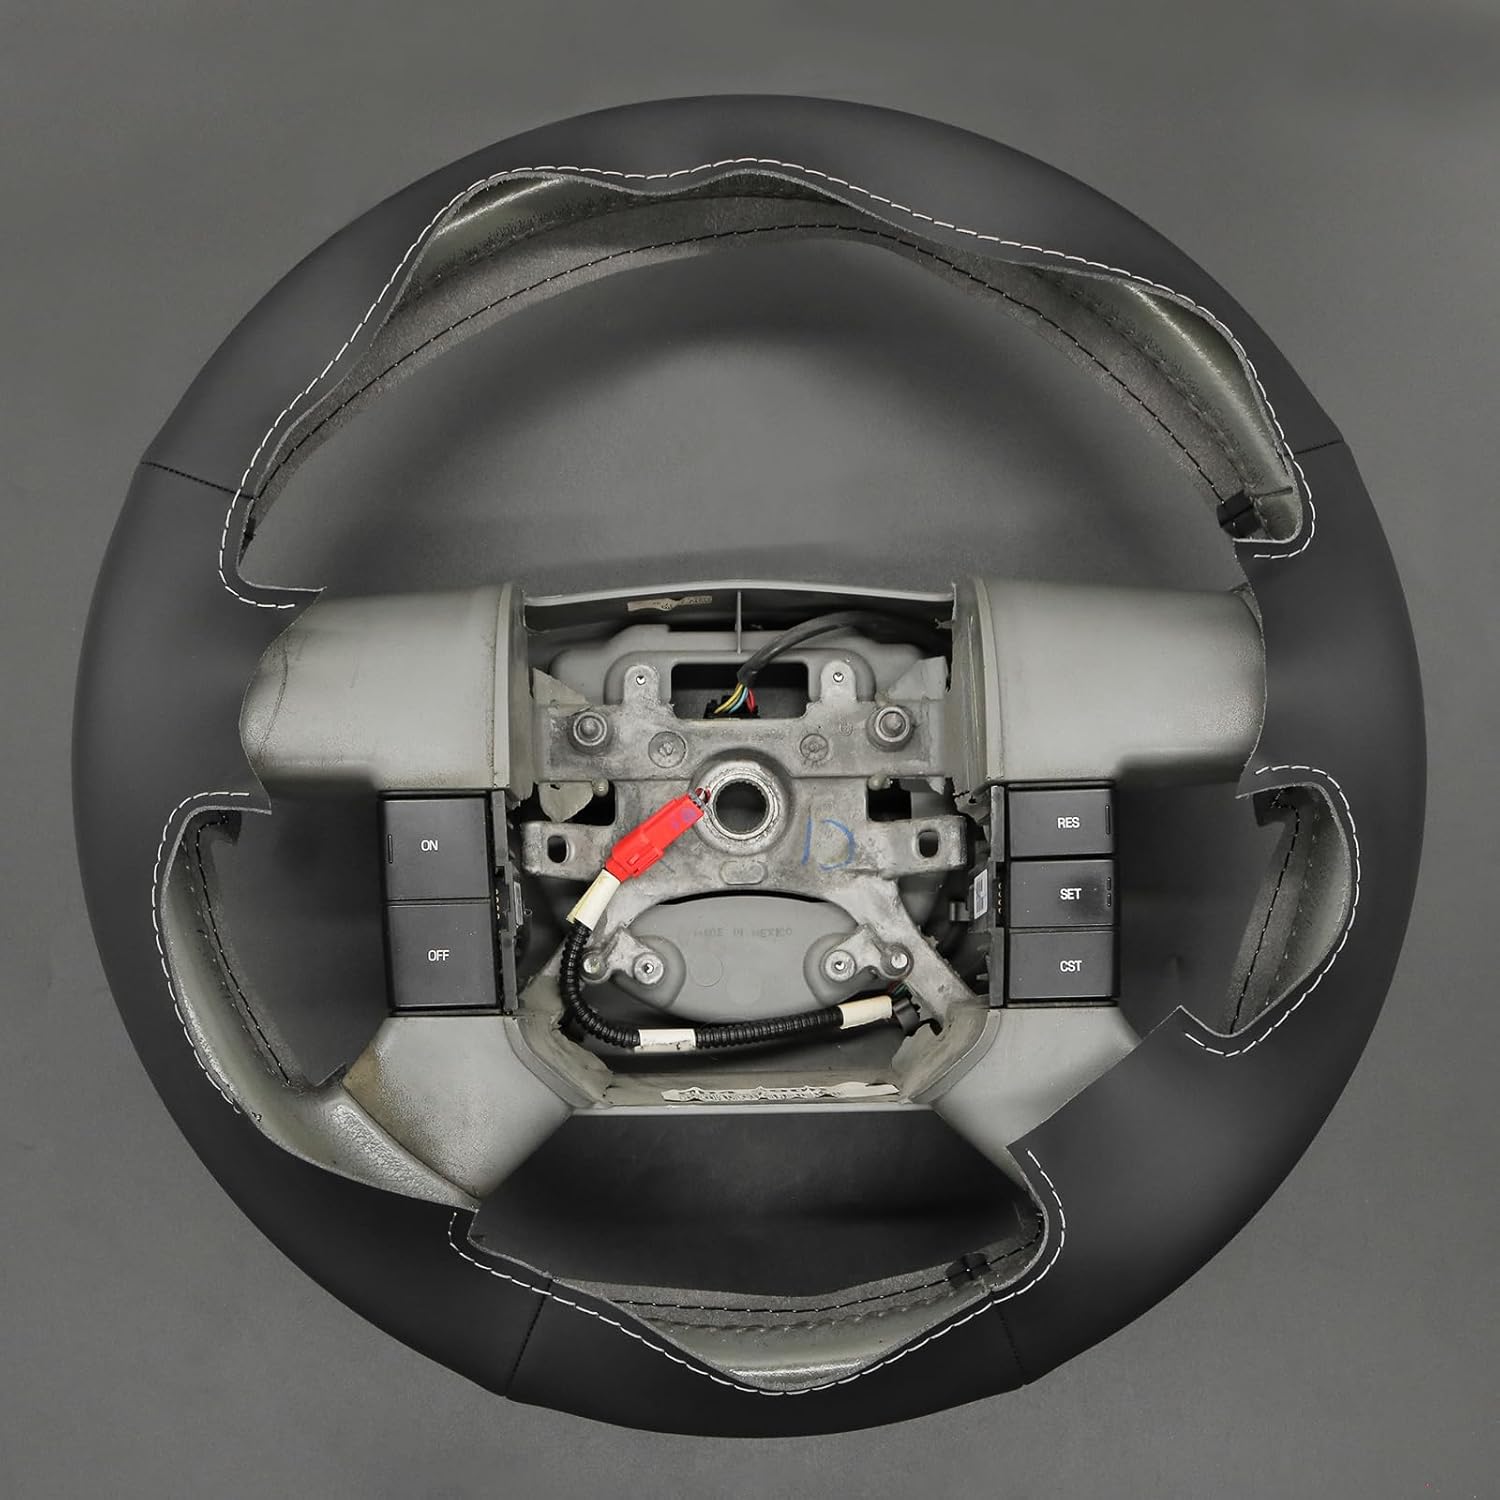
**Step 1: Prepare the Steering Wheel**
The key to a long-lasting install is a perfectly clean surface.
* **Clean Thoroughly:** Use the rubbing alcohol and microfiber cloth to clean every inch of the existing steering wheel. Pay special attention to the grooves and crevices where oils and dirt accumulate.
* **Ensure It's Dry:** Let the wheel dry completely. Any residue will prevent the adhesive on the cover from sticking properly.
**Step 2: Position the Cover**
This is a critical step for alignment.
* **Find the Top Center:** Most covers have a tag or mark indicating the top. Align this mark with the top center of your steering wheel (the 12 o'clock position).
* **Tape it in Place:** Once perfectly aligned, use small pieces of painter's tape to secure the cover at the top, bottom, and sides. The cover should be snug and even all around.
**Step 3: The Stitching Process**
This is the most time-consuming part. Patience is your best friend.
* **Start Stitching:** Begin at the bottom of the wheel (the 6 o'clock position), as this is the least visible area. It will allow you to perfect your technique before moving to the more prominent top section.
* **Use the Right Stitch:** The most common stitch for a **leather steering wheel cover** is the "baseball stitch" or "X-pattern stitch." This creates a strong, uniform, and professional look.
* Pass the needle through the first pre-punched hole from underneath.
* Cross the threads over and pass the needle through the opposite hole.
* Pull the thread tight after each stitch, but not so tight that it distorts the leather.
* **Work in Sections:** After stitching a small section (about 3-4 inches), pause and press the leather down onto the wheel. The adhesive backing will bond as you work.
* **Tuck the Edges:** Use your plastic pry tool to gently tuck the edges of the **leather steering wheel cover** into the seams and crevices of the original wheel. This gives it that seamless, custom-fit look.
**Step 4: Manage the Thread**
* **Dealing with Length:** The thread provided is usually very long. To manage it, don't cut it. Instead, carefully unwind it as you stitch to avoid tangles.
* **Ending and Starting New Thread:** When you need to start a new thread, tie a secure knot on the backside (non-visible part) of the seam. Start the new thread by also knotting it from the back to hide the connection.
**Step 5: The Final Fit**
Once you have completed the entire stitch and tucked all the edges, go around the wheel one more time.
* **Press Firmly:** Apply firm pressure all over the cover, especially along the spokes and in tight curves, to ensure the adhesive has fully bonded.
* **Double-Check the Seam:** Run your fingers along the stitched seam to feel for any loose areas and ensure it's consistently tight.
**Pro Tips for a Flawless Finish**
* **Take Your Time:** Rushing is the number one cause of mistakes. Plan for a slow, methodical afternoon.
* **Good Lighting is Crucial:** Ensure your workspace is well-lit so you can see the pre-punched holes clearly.
* **Keep Threads Tight:** Consistently tight stitches prevent the cover from shifting or loosening over time.
Check Here to see Loncky custom fit steering wheel cover